
This is what smiling in quiet satisfaction looks like
My boyfriend fashions himself to be a fisherman. In the summertime, he spends his weekends on lakes or at the beach casting and reeling, casting and reeling, usually not catching much but every once in a while smiling in quiet satisfaction when a kingfish or even a shark finds itself at the end of his line. Last spring, for the first time, Boyfriend took me fishing with him. It was my first time fishing — ever — and while I can’t say that I found the sport itself particularly entertaining, I loved all of the shiny, sparkly lures. So this Christmas, for one of his presents, I decided to craft a shadow box full of those pretty glittery fish-catchers (it’s possible they work for hooking girlfriends, too).

The finished product!
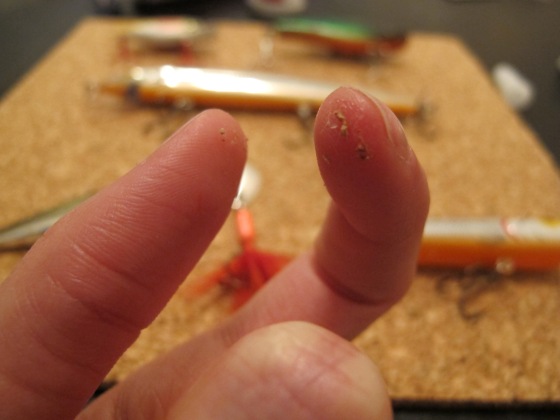
What did I learn from this little crafting adventure? Well for one, cork is porous, as can be attested by the remnants of superglue all over my dining room table. Also, while superglue doesn’t adhere to lures coated in extra-shiny plastic, it does stick rather aggressively to fingers. Now that I’ve learned these hard lessons on your behalf, why not make a shadow box of your own?
Here are the things you’ll need:
- Fishing lures. I got mine at Bass Pro Shop.
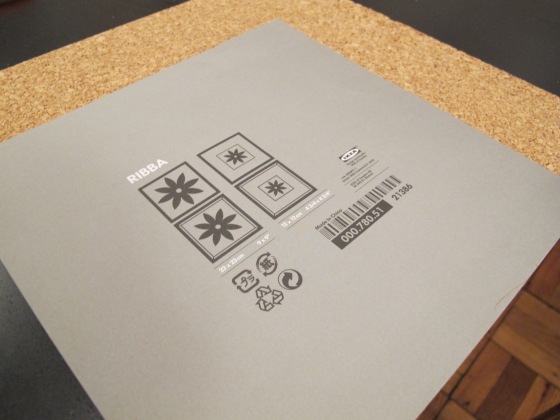
- A shadow box frame. IKEA sells them for $10.
- Cork board. Staples sells cork tiles that are conveniently already square-shaped and easy to cut.
- Scissors.
- Super glue.
- A marker.
- Sewing needles, pins, or thumbtacks.
- Something to protect the surface you’re working on.
Start out by cutting your cork board to fit your frame. I traced the frame insert directly onto the cork board with my marker, like so:
…and then cut along the lines.
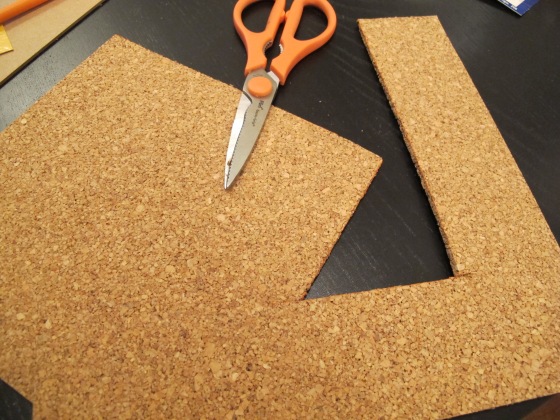
TA-DAAAA!
Now that you’ve cut your cork down to size, it’s probably a good idea to figure out whether all of your lures fit in the frame, or at least get a general concept of what you’d like your arrangement to look like.
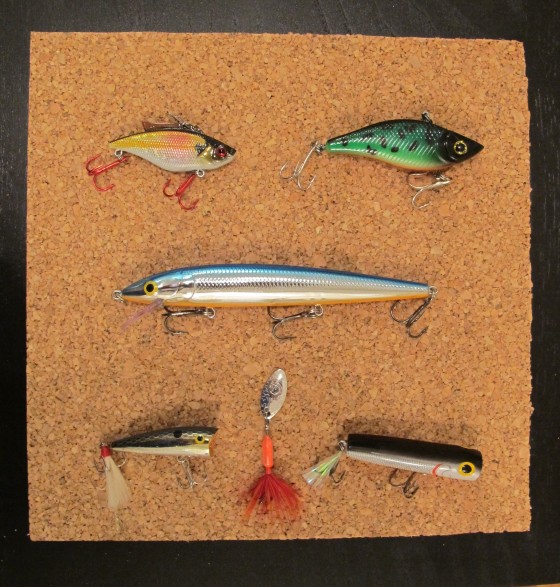
Looks good enough to me
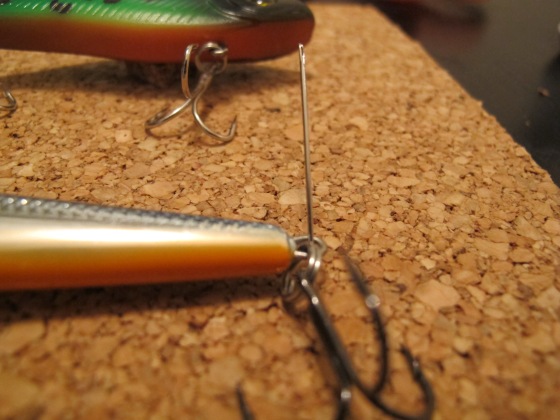
Next, it’s time to mount the lures. Cut a tiny piece of cork out for each lure and superglue it on the side of the lure that will be mounted to the board. Just like this:
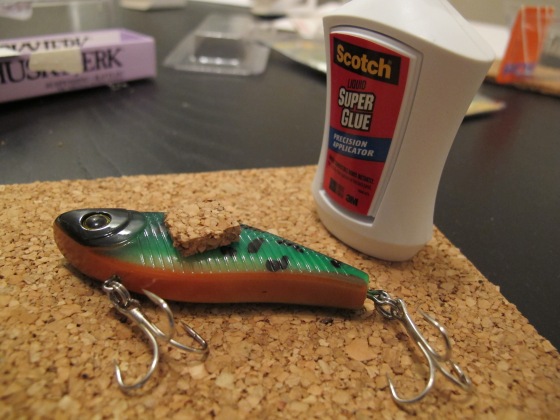
Remember that cork is porous (lesson learned!) and try not to glue your fingers together.
…it’s a challenge
If, like me, you bought some extra-shiny lures (because HELLO SHINY), you’ll soon realize that they don’t take too well to superglue (another lesson learned). In that case, pin your lures to the cork board with your sewing needles or thumbtacks (or do what I did and run out to your nearest drugstore late at night in the pouring rain to secure an emergency sewing kit).
Pin at an angle — it will help with stability
Repeat for all lures on your frame and then… you’re done!
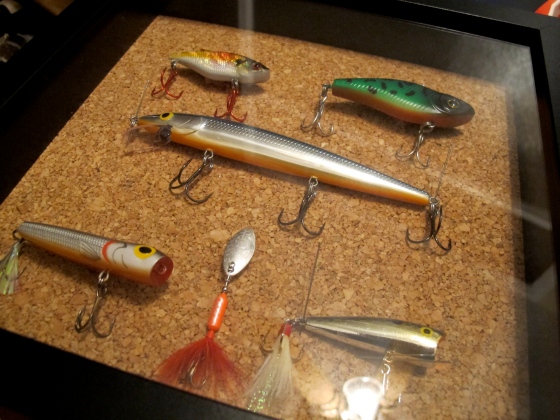
One more TA-DAAAA, for good measure

Great idea!
Thanks, glad you think so!
Pingback: Gifts for Fisherman | Amanda Creation